How to Print a Photo on a T-Shirt Step by Step
Printing a photo on a T-shirt is a powerful way to create custom apparel that showcases your brand, promotes an event, or expresses personal creativity. Whether you’re a business looking to produce high-quality merchandise or an individual exploring DIY methods, understanding the process of putting a picture on a shirt is key to achieving a professional finish.
This guide provides a comprehensive, step-by-step approach to printing pictures on T-shirts, covering both DIY and professional techniques, with a focus on achieving vibrant, durable results using advanced equipment like those offered by Cnding.
Key Considerations Before Printing Pictures on a T-Shirt
Before you start printing a photo on a T-shirt, several factors influence the final print quality. These include fabric type, T-shirt color, image resolution, and the chosen printing method.
Fabric Type
The t-shirt fabric determines how well the photo adheres and how long it lasts.
- Cotton: Ideal for direct-to-garment (DTG) printing and screen printing, cotton absorbs ink well, ensuring vibrant colors. It’s a popular choice for custom T-shirts but requires proper care to prevent fading.
- Polyester: Best for sublimation printing, where ink bonds directly onto fabric, creating durable prints. Polyester is less suited for DTG or screen printing.
- Blends: Cotton-polyester blends offer comfort and durability, making them versatile for various printing methods, including heat transfer and DTG. However, print quality may vary based on the blend ratio.
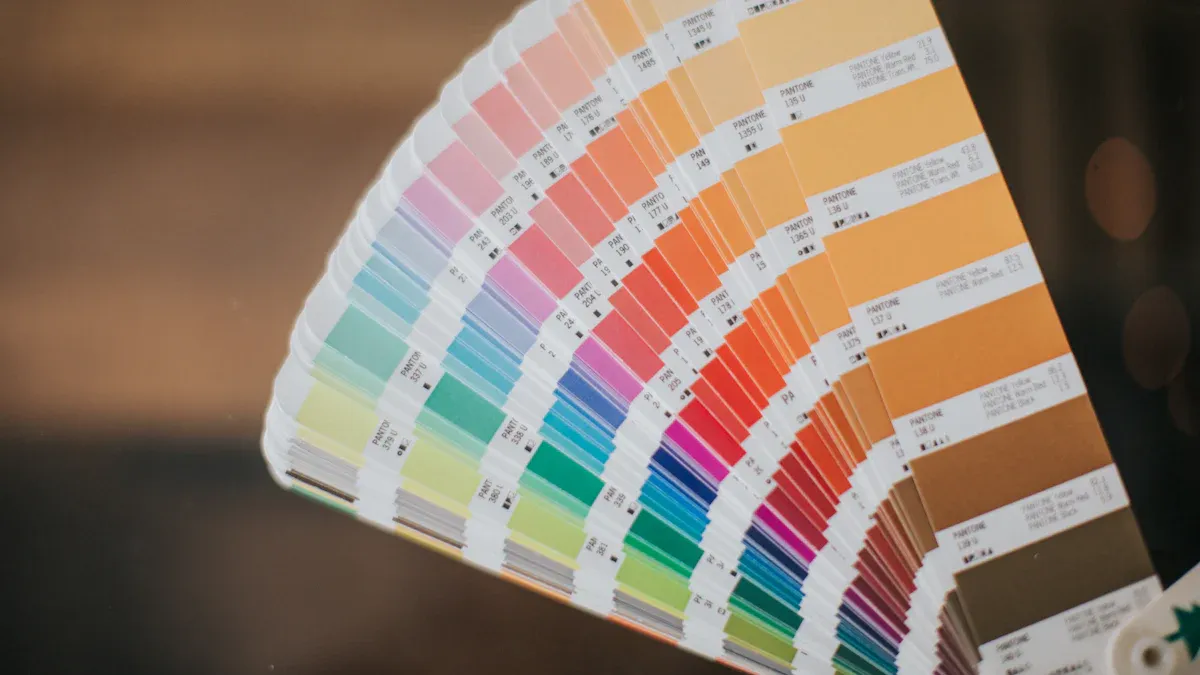
T-Shirt Color
The color of the T-shirt affects how the photo appears.
- Light-colored shirts: Perfect for most printing methods, especially DTG and iron-on transfers, as they allow accurate color reproduction and fine details.
- Dark-colored shirts: Require special techniques, such as a white base layer for DTG or dark transfer paper for heat transfers, to ensure vibrant prints. Screen printing excels here, offering opaque ink for bold results on dark fabrics.
Photo Resolution and File Type
For a crisp, professional print, use a high-resolution image (at least 300 DPI). Low-resolution images (e.g., 72 DPI) may appear pixelated or blurry.
- JPEG: Suitable for photos with gradients or complex colors.
- PNG: Ideal for designs with transparent backgrounds, ensuring seamless integration onto the t-shirt fabric.
Adjust the image size to fit the print area (e.g., 10”x12” for chest designs, larger for full-back prints). Use software like Adobe Photoshop or GIMP to enhance contrast, brightness, and colors for optimal print quality.
Choosing the Right Printing Method
The printing method impacts cost, durability, and visual appeal. Common methods include screen printing, DTG, heat transfer, and sublimation. For businesses aiming for high-volume production, screen printing offers unmatched efficiency and durability, especially with professional-grade equipment from suppliers like Cnding.
Professional T-Shirt Printing Methods
For businesses or professionals seeking a polished look, professional printing methods deliver high-quality prints with longevity. These methods often require specialized equipment, making them ideal for B2B clients investing in robust solutions.
Screen Printing
Screen printing, or silk screening, is a traditional t-shirt printing method that uses a mesh screen and stencil to apply ink directly onto fabric. It’s perfect for bulk orders and produces vibrant, durable prints.
Steps for Screen Printing:
- Prepare the Design: Create a high-resolution image and separate colors into layers (e.g., black and white for photos). For complex photos, convert the picture to a simplified design using software like Adobe Illustrator for better results.
- Create the Stencil: Coat a mesh screen with light-reactive emulsion, place the design on acetate film, and expose it to UV light to harden the emulsion. Wash away unexposed areas to form the stencil.
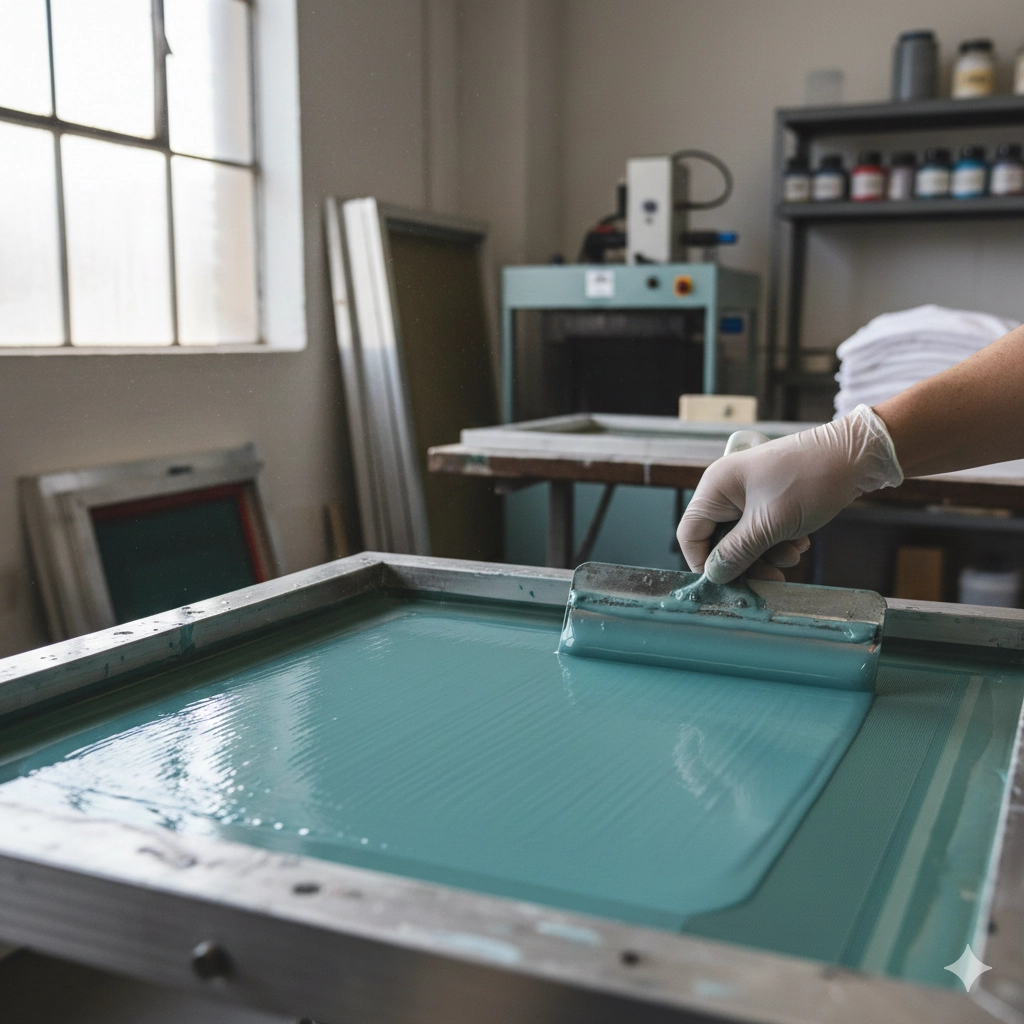
- Apply Ink: Position the stencil on the T-shirt, spread ink across the screen using a squeegee, and press it through the open areas onto the fabric.
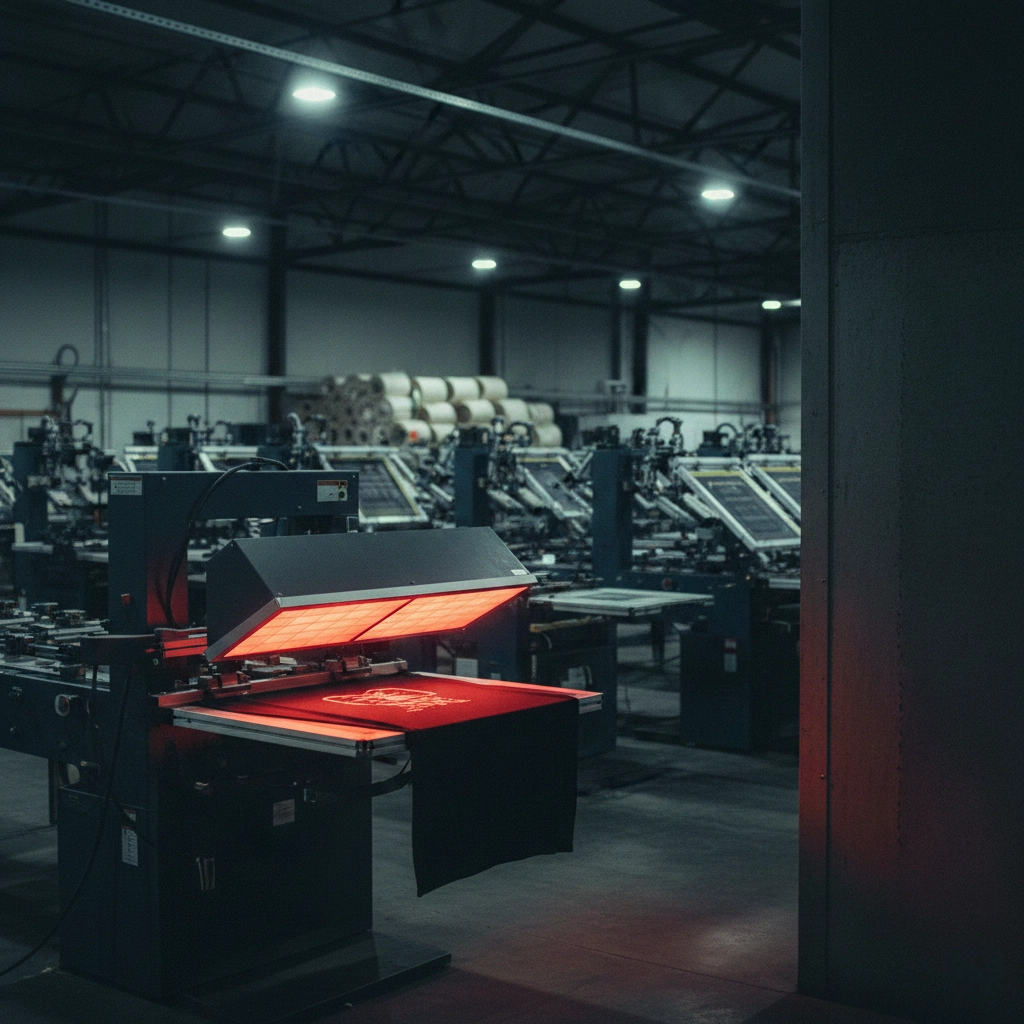
- Cure the Ink: Heat-cure the printed T-shirt using a curing oven or heat press to ensure the ink adheres permanently.
Pros:
- Vibrant colors and opaque prints, even on dark-colored shirts.
- Cost-effective for large orders.
- Durable, wash-resistant prints.
Cons:
- Limited for highly detailed photos due to color layering.
- Setup is time-consuming for multi-color designs.
Why Choose Screen Printing? Screen printing is ideal for businesses producing custom T-shirts in bulk, such as for events or merchandise. Professional-grade screen printing machines, like those from Cnding, streamline the process, ensuring consistent, high-quality prints without the hassle of manual setup.
Direct-to-Garment (DTG) Printing
DTG printing uses specialized inkjet technology to print designs directly onto T-shirts, offering excellent detail for complex photos.
Steps for DTG Printing:
- Prepare the Photo: Ensure the image is high-resolution (300 DPI) and saved as a JPEG or PNG.
- Pre-Treat the Shirt: Apply a primer solution to the T-shirt to enhance ink adhesion and color vibrancy, then heat-press to dry.
- Print the Design: Load the T-shirt into a DTG printer, which prints the photo directly onto the fabric.
- Cure the Print: Heat-cure the T-shirt in an oven or using a heat press to set the ink.
Pros:
- High detail for colorful, intricate photos.
- No setup costs, ideal for small batches or one-off prints.
- Soft, comfortable finish.
Cons:
- Slower than screen printing for large orders.
- Best for cotton or high-cotton blends.
Sublimation Printing
Sublimation printing turns ink into gas to bond it with polyester fibers, creating vibrant, all-over prints.
Steps for Sublimation Printing:
- Print the Design: Use a sublimation printer to print the photo onto sublimation transfer paper.
- Position the Design: Place the printed paper face-down on a polyester T-shirt.
- Apply Heat: Use a heat press (around 400°F for 30-45 seconds) to transfer the design onto the fabric.
- Peel the Paper: Remove the backing paper to reveal the print.
Pros:
- Vibrant, durable prints that won’t crack or peel.
- Ideal for all-over designs on polyester.
Cons:
- Limited to polyester or poly-coated fabrics.
- Not suitable for dark-colored shirts without special treatments.
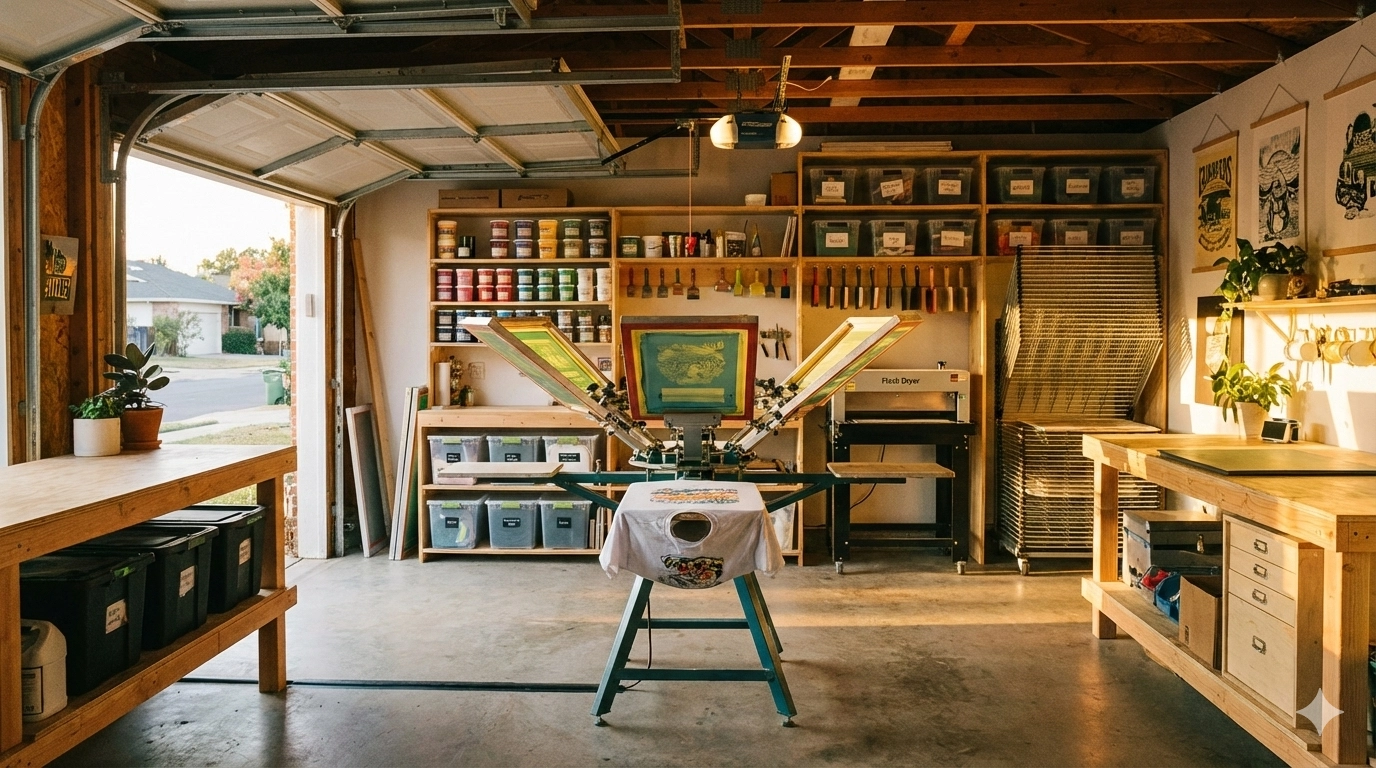
DIY Methods to Print a Photo on a T-Shirt at Home
For those looking to put a picture on a shirt at home, DIY methods are accessible and cost-effective, though they may lack the durability of professional techniques.
Iron-On Transfer Paper
Iron-on transfer paper is a beginner-friendly way to print a photo on a T-shirt using an inkjet printer and a heat press or iron.
Steps for Using Transfer Paper:
- Prepare the Photo: Edit the image in software to achieve 300 DPI and mirror it for light-colored shirts.
- Print the Design: Print the photo onto light or dark transfer paper (use light transfer paper for white/light-colored shirts, dark transfer paper for dark fabrics).
- Position the Transfer: Place the printed transfer paper face-down (light fabrics) or face-up (dark fabrics) on the T-shirt.
- Apply Heat: Use an iron or heat press (set to the recommended temperature) to press the transfer for 2-3 minutes (iron) or 15-20 seconds (heat press).
- Peel the Backing Paper: Let the T-shirt cool slightly, then peel off the backing paper to reveal the printed photo.
Pros:
- Affordable and accessible using an inkjet printer.
- Great for one-off projects or gifts.
Cons:
- Prints may fade or crack after washing.
- Less effective on dark fabrics without dark transfer paper.
Heat Transfer Vinyl (HTV)
HTV involves cutting designs from vinyl sheets and heat-pressing them onto T-shirts, offering a more durable DIY option.
Steps for Using Heat Transfer Vinyl:
- Create the Design: Use software to create or upload the photo, mirroring it for cutting.
- Cut the Vinyl: Load HTV into a cutting machine (e.g., Cricut), cut the design, and weed out excess vinyl.
- Position the Design: Place the vinyl design on the T-shirt, vinyl side down.
- Apply Heat: Use a heat press or iron (300°F for 15-20 seconds) to adhere the design.
- Peel the Carrier Sheet: Remove the backing once cooled.
Pros:
- Durable, professional-looking prints.
- Suitable for cotton and blends.
Cons:
- Requires a cutting machine, increasing costs.
- Less ideal for complex, multi-color photos.
Plastic Wrap and Parchment Paper
This unconventional DIY method uses household items to transfer a picture to a shirt, creating a vintage, faded effect.
Steps for Plastic Wrap and Parchment Paper:
- Print the Photo: Print the image on regular printer paper and cut it out.
- Wrap in Plastic: Cover the printed image tightly with plastic wrap.
- Position on Shirt: Place the wrapped image face-down on a light-colored T-shirt, with parchment paper on top.
- Apply Heat: Iron over the parchment paper (medium heat) for 2-3 minutes to melt the plastic and transfer the ink.
- Peel Off: Let it cool, then remove the parchment paper and plastic.
Pros:
- No special equipment needed.
- Ideal for quick, artistic projects.
Cons:
- Faded, less vibrant prints.
- Best for light-colored shirts only.
DIY vs Print-on-Demand: Which is Right for Your T-Shirt Printing Project
When deciding how to put a photo on a T-shirt, consider DIY versus print-on-demand (POD) services.
| Aspect | DIY | Print-on-Demand |
|---|---|---|
| Print Quality | Moderate; may fade with washing | High-quality, durable prints |
| Cost | Low for small batches ($5-$15/shirt) | Cost-effective for bulk orders |
| Convenience | Hands-on, requires equipment | Hassle-free, handled by professionals |
| Printing Methods | Iron-on, HTV, plastic wrap | DTG, screen printing, sublimation |
| Turnaround Time | Immediate | A few days for delivery |
DIY is great for personal projects or small batches, offering creative control and instant results. However, it requires equipment like an inkjet printer, heat press, or cutting machine, and prints may lack durability.
Print-on-Demand is ideal for businesses or larger orders, providing professional finishes without needing to invest in equipment. POD services handle the printing and shipping, but delivery takes longer, and you have less hands-on control.
For businesses, investing in professional screen printing equipment from Cnding can bridge the gap, offering the control of DIY with the quality and scalability of POD.
Step-by-Step Guide to Print a Photo on a T-Shirt Using Screen Printing
For businesses aiming to produce custom shirts at scale, screen printing is the gold standard. Here’s how to put a picture on a shirt using professional screen printing equipment:
- Choose the T-Shirt: Select a t-shirt style and color compatible with screen printing (cotton or blends work best). Ensure the fabric is pre-washed to remove sizing for better ink adhesion.
- Prepare the Photo: Use software to simplify the photo into 1-3 colors for screen printing. Convert the picture to a high-contrast design, separating colors into layers (e.g., black, white, and one accent color).
- Create the Screen: Coat a mesh screen with emulsion, place the design on acetate film, and expose it to UV light. Wash the screen to create the stencil.
- Set Up the Equipment: Load the screen into a professional screen printing machine, like those from Cnding, and align the T-shirt on the platen.
- Apply the Ink: Spread ink across the screen using a squeegee, ensuring even coverage. For multi-color designs, use separate screens for each color.
- Cure the Print: Pass the T-shirt through a curing oven to set the ink, ensuring a wash-resistant, professional finish.
- Inspect and Package: Check the print quality and package the T-shirts for distribution or sale.
Tip: For high-volume production, Cnding advanced screen printing machines automate setup and printing, reducing labor and ensuring consistent results.
Care Instructions for Printed T-Shirts
To maintain the print quality of your custom T-shirt:
- Wait 24 hours before washing to allow the ink to set.
- Wash by hand or on a gentle cycle with mild detergent, avoiding bleach.
- Turn the T-shirt inside out before washing to protect the design.
- Air dry or use low heat to prevent cracking or fading.
- Avoid ironing directly on the printed area; use a cloth if necessary.
Why Choose Professional Screen Printing Equipment
For businesses entering the t-shirt printing business, investing in professional equipment is a game-changer. Screen printing machines from Cnding offer:
- Precision and Speed: Automated systems ensure consistent prints, even for complex designs.
- Scalability: Handle large orders efficiently, reducing per-unit costs.
- Durability: Produce vibrant, long-lasting prints that withstand repeated washing.
- Versatility: Print on various t-shirt colors and fabrics, including dark fabrics, with opaque inks.
By using professional-grade equipment, you can print pictures on shirts with a professional finish, whether for promotional merchandise, retail, or events.
Ready to Print Your Custom T-Shirts
Whether you’re a hobbyist experimenting with a DIY method or a business aiming to produce custom shirts at scale, printing a photo on a T-shirt is an exciting way to bring your vision to life. For small projects, iron-on transfers or HTV offer quick, accessible solutions. However, for professional results and high-volume production, screen printing with advanced equipment from Cnding ensures unmatched quality and efficiency.
Ready to print? Discover Cnding range of professional screen printing machines to elevate your t-shirt printing business. Start creating vibrant, durable custom T-shirts today!
- Key Considerations Before Printing Pictures on a T-Shirt
- Professional T-Shirt Printing Methods
- DIY Methods to Print a Photo on a T-Shirt at Home
- DIY vs Print-on-Demand: Which is Right for Your T-Shirt Printing Project
- Step-by-Step Guide to Print a Photo on a T-Shirt Using Screen Printing
- Care Instructions for Printed T-Shirts
- Why Choose Professional Screen Printing Equipment
- Ready to Print Your Custom T-Shirts