

Want to make custom t-shirts or add personal touches to fabric projects? Fabric printing is one way to do it. Screen printing (silk screen printing) is a common method that transfers designs onto materials. This guide covers the process from basics to making your own stencils.
Fabric printing includes several methods, but screen printing is popular for being durable and flexible. The idea is simple: use a stencil to block parts of a screen so ink passes through only where you want it. This creates a clear image on the fabric.
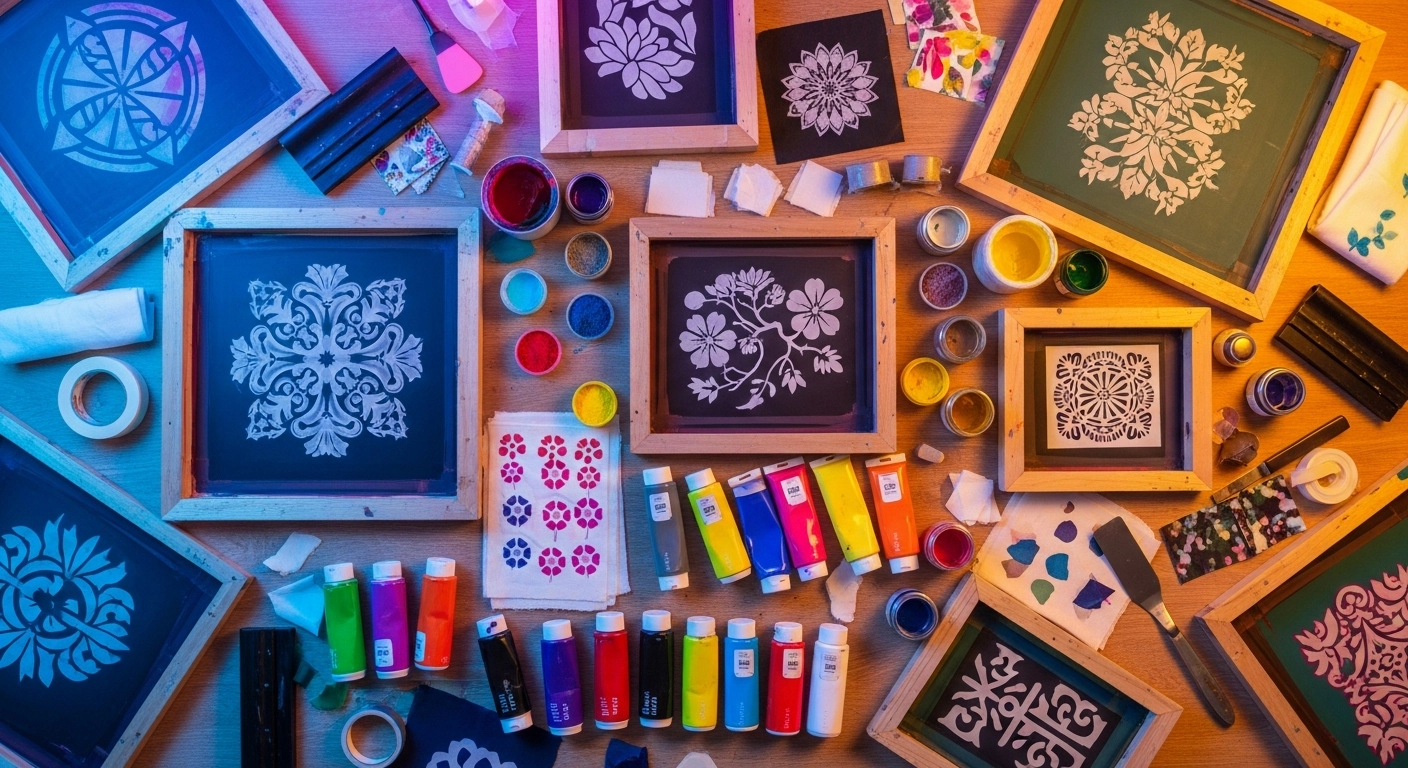
Good results come from understanding how each part works together. Silk screen stencils are patterns on a mesh screen. When you push ink across, the stencil makes sure ink only transfers in your design’s shape.
Screen printing starts with a mesh screen stretched tight over a frame. Coat the screen with light-sensitive emulsion. Print your design onto transparent film, place it on the coated screen, and expose it to bright light. The light hardens the emulsion except where your design blocked it.
Rinse the screen with water afterward. The unhardened emulsion washes away, leaving your artwork’s shape on the screen. This is your stencil.
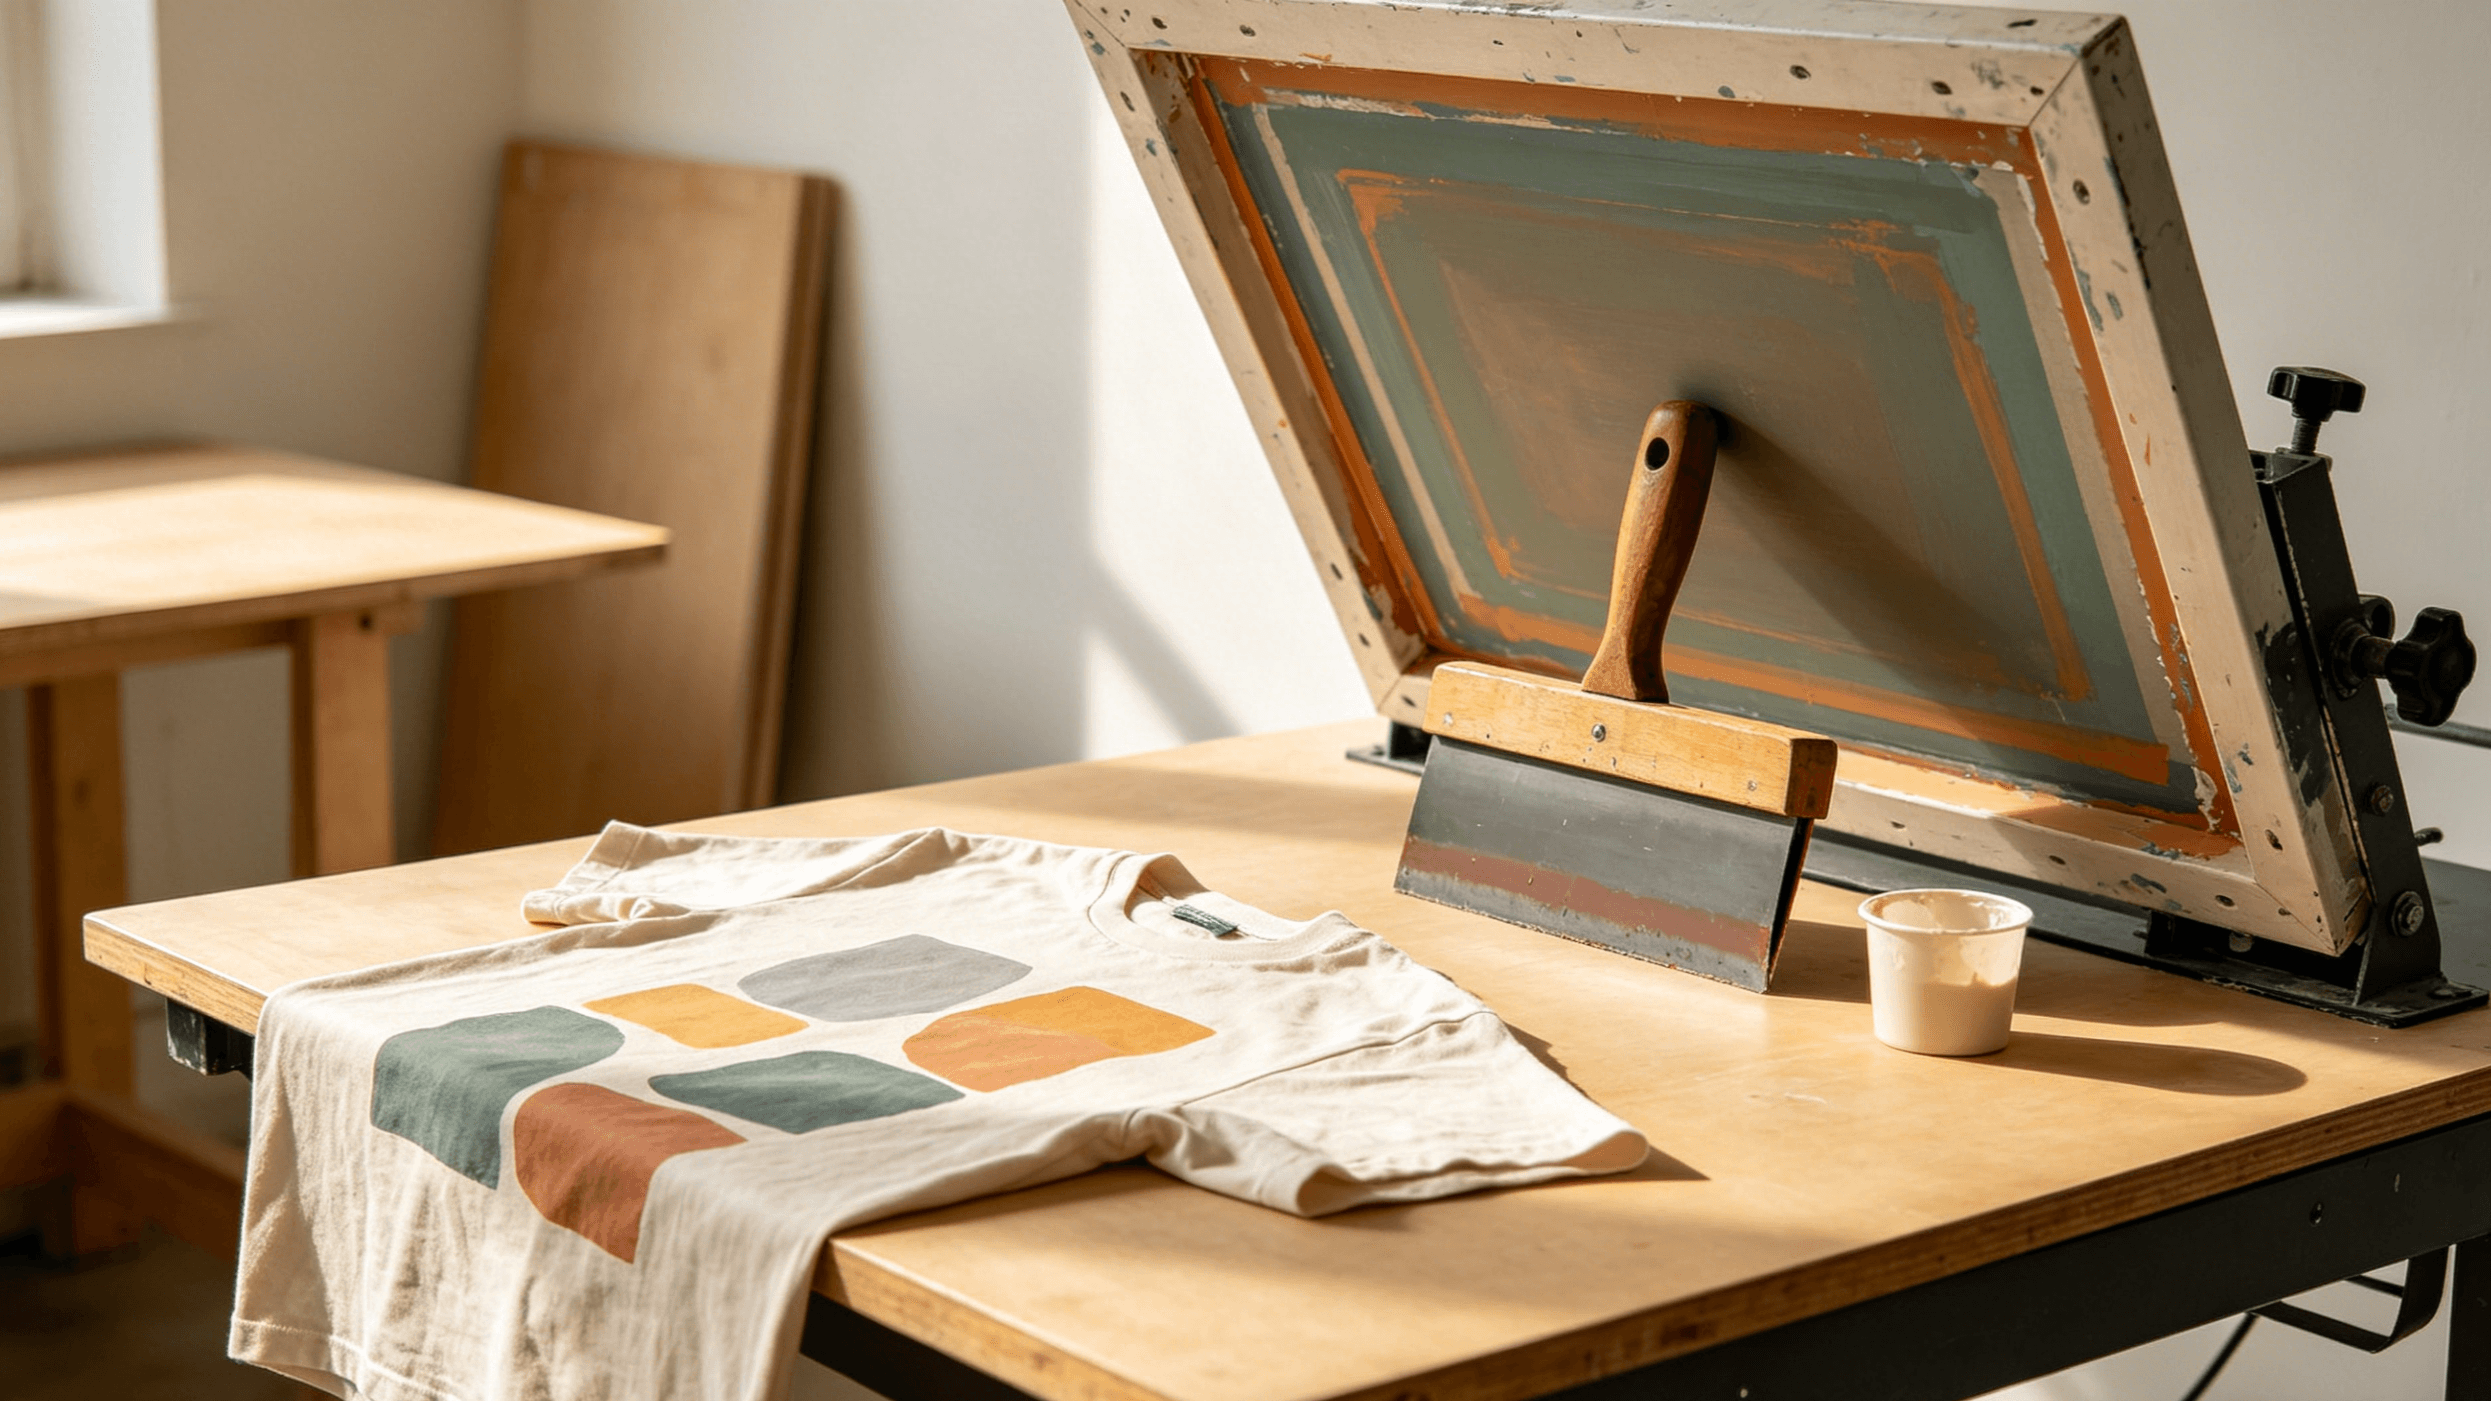
Place the screen on the fabric. Pour ink on top and pull a squeegee across the stencil. Ink passes through the mesh openings, transferring your design. This works on fabric, wood, glass, and ceramic.
The ink or dye you choose affects how your project looks and feels. The right ink makes your design colorful and durable for your fabric. Opaque inks work for light colors on dark fabrics. Other inks might give softer results.
Different inks are made for specific materials. When choosing ink:
For beginners, basic water-based screen printing ink sets are easy to use and clean up.
The stencil is central to the process. It turns blank fabric into printed designs. These stencils are made from pre-emulsified mesh that lets you create detailed, reusable designs.
The best stencil depends on your design’s complexity and the surface you’re printing on. For t-shirts, standard stencils handle fine details well and are easy to clean.
You have two options: custom or ready-to-use stencils.
Ready-to-use stencils have pre-made designs. They work well for quick projects or if you don’t want to create your own artwork. You can start immediately.
Custom stencils give more control. Create your own design and transfer it onto a blank, emulsified screen. Print on transparency film or use a vinyl cutter. This works when you need a specific logo, text, or image.
| Stencil Type | Best For |
|---|---|
| Ready-to-Use | Beginners, quick projects, and common designs. |
| Custom | Personalized artwork, unique logos, and complete creative control. |
You’ll need basic materials and tools. The main part is the mesh silk screen, which comes pre-coated with light-sensitive emulsion.
For custom designs, you need transparency film to print artwork on. If using vinyl, a vinyl cutter makes precise stencils. Once ready, you need screen printing ink, a squeegee, and the fabric or item you want to print on. This works on surfaces like wood, glass, and polymer clay too.
Must-have items:
Making your own silk screen stencil at home is satisfying. You can turn digital or hand-drawn artwork into a reusable stencil. You don’t need much experience—modern kits make it simpler.
The basic steps: prepare your design, expose it onto an emulsion-coated screen, then rinse it to reveal the stencil.
First, create your artwork. Digital or hand-drawn works. Use a solid, high-contrast black image for best results. Print the final design onto transparent acetate film. This transparency is the negative for your stencil.
Prepare your mesh silk screen. These screens are usually pre-coated with light-sensitive emulsion, so work in dim light to avoid early exposure. Place your transparency on the emulsion-coated screen where you want the design.
Some DIY methods use adhesive vinyl cut into the design shape, applied directly to the screen as the stencil. The photo emulsion method captures fine details better.
After creating your stencil, start printing. Place the screen over your fabric, like sweatshirts or hoodies. Apply a line of screen printing ink at the top of the design. Hold a squeegee at a 45-degree angle and pull the ink across the stencil in one smooth motion. Lift the screen carefully to see your printed design.
To make stencils last, clean them properly. After printing, scrape excess ink back into its container. Rinse the stencil with water to remove remaining ink from the mesh. Harsh chemicals damage the emulsion, so avoid them.
For longevity:
Beginner-friendly kits are available on Amazon.
Fabric printing lets you create custom designs. Understanding screen printing, inks and dyes, and silk screen stencils helps you improve. Practice helps, and trying different materials gives better results.

Introduction Custom apparel is hitting massive numbers, with the market expected to pass $45 billion by 2030. If you’re looking at the scene in 2026, Heat Press Vinyl (HTV) is...
Introduction The apparel industry has exploded lately. We’re looking at a market projected to hit $17.5 billion by 2027, mostly because everyone wants custom gear, unique merch, and fast-fashion pieces...
Introduction The custom t-shirt business is on a serious roll. Experts think the global market will hit around USD 5.1 billion by 2026. Even with all the new tech out...