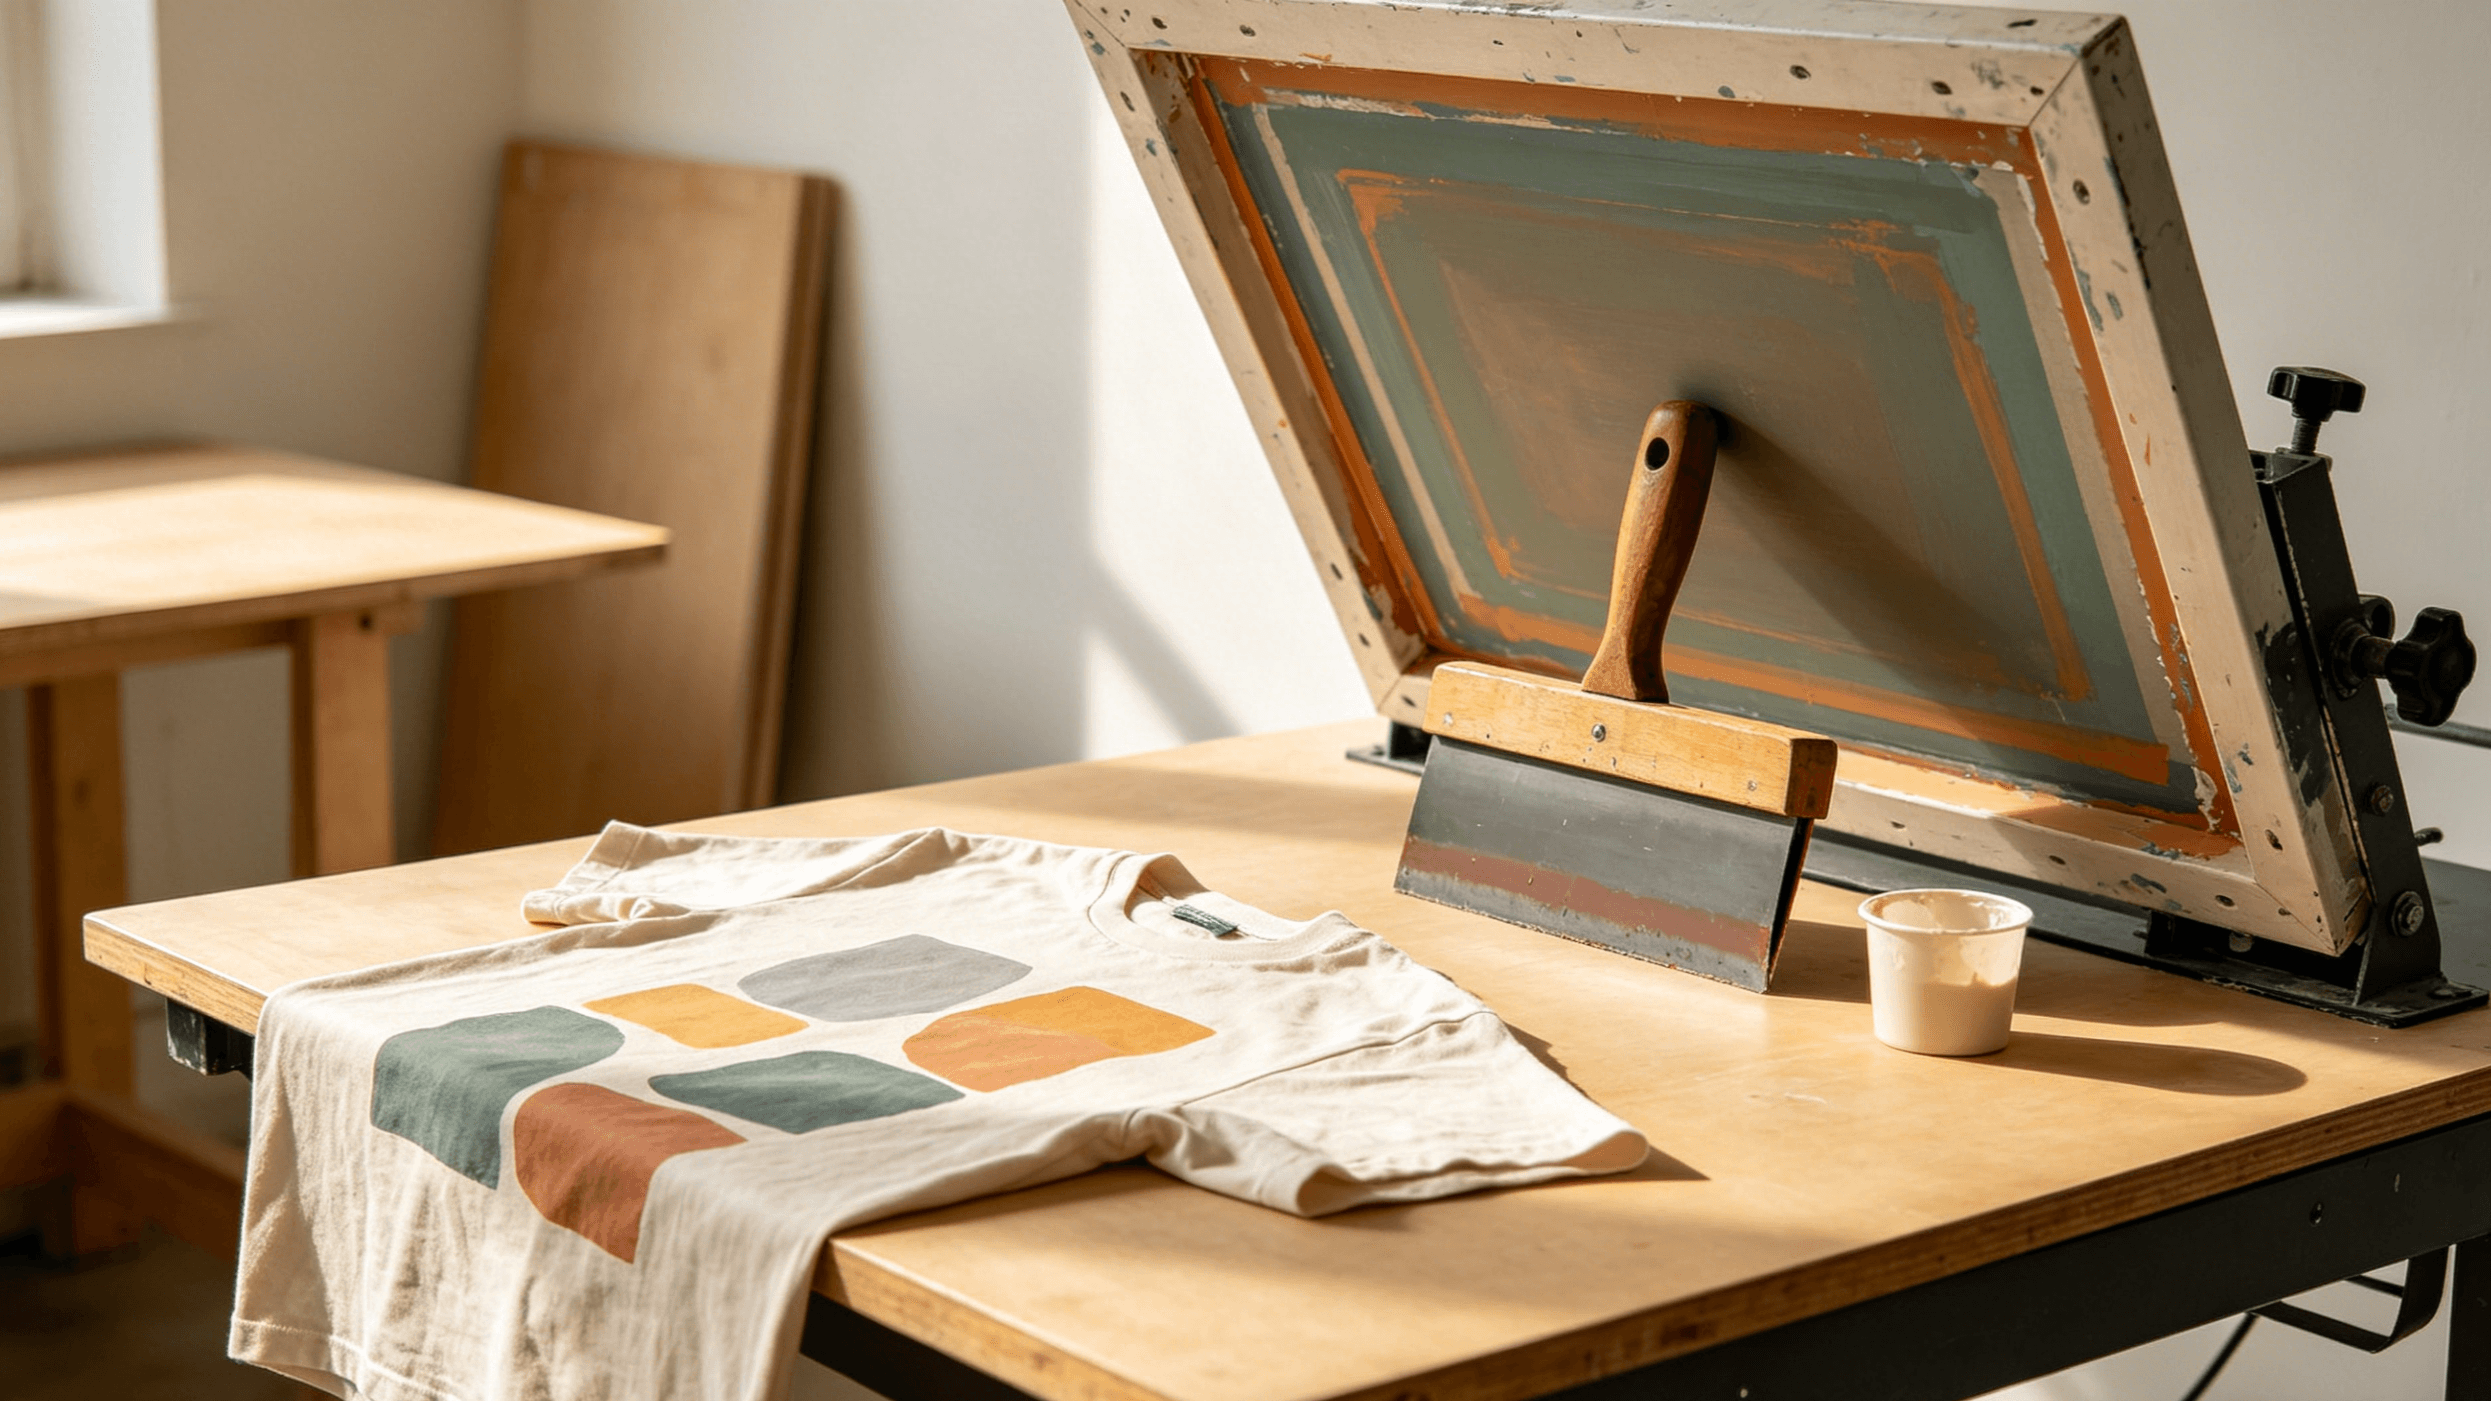

If you want shirts that look like they came from a high-end retail shop, you have to respect the “Golden Triangle”: temperature, pressure, and time. It’s not just about getting the plate hot; it’s a chemical reaction. If your temp is too low, the glue won’t melt. If the pressure is weak, the ink just sits on top of the fabric instead of sinking in. And if you rush the timer, that bond never actually happens.
In big B2B shops, you can’t just “feel” your way through a 500-shirt order. Cnding Group handles this with automated pneumatic systems that make sure every single garment hits those industrial durability standards without the guesswork.
You can’t just trust the screen on your heat transfer shirt press. Skipping “blind calibration”—checking what the machine is actually doing versus what the display says—is the fastest way to end up with peeling logos or ruined fabric.
Digital thermostats are notorious liars. They can be off by 10 to 30 degrees because of where the sensor is or how old the platen is.
Cnding Group’s Automatic Heat Press Machine uses better control systems to keep heat even, so you aren’t constantly fighting these cold spots like you might with a cheap manual press.
Most people adjust pressure by “feel,” but that’s a gamble. You need enough force to drive the adhesive into the fibers.
Moisture is the enemy. Every shirt has some humidity trapped in the fibers. If you don’t “pre-press” it for 3–5 seconds before adding the design, that moisture turns into steam and pushes the transfer right off the shirt. Plus, it gets rid of wrinkles.
Performing these three blind-calibration and pre-treatment steps transforms your heat transfer shirt press from a “set-it-and-hope” tool into a precision instrument.
Achieving consistent, wash-durable, professional results on a heat transfer shirt press requires precise execution of each step. The “golden triangle” of temperature, pressure, and time must work together, but execution details make the difference between amateur transfers that crack after a few washes and industrial-grade finishes that can withstand 40+ wash cycles.
For a standard crew-neck, place the top of your design about 3 inches (three fingers) down from the collar seam. For V-necks, move it up to about 2 inches. Just stay away from the seams and collars—pressing on a bump ruins the pressure and the design will peel.
Always use a Teflon sheet. It keeps the design from sticking to the heater. If you’re working on light polyester, use parchment paper instead—it helps prevent “ghosting” where the ink bleeds a bit.
Different materials have different rules.
The secret move: Always do a “finishing press.” After you peel the carrier sheet, cover the design and press it again for 5 seconds. You should see the texture of the fabric through the design. That’s how you know it’s truly bonded.
Choosing the right heat transfer shirt press setup depends on your production volume, operator skill level, and growth goals. Whether you run a small custom shop or a high-volume B2B operation, optimizing for your specific equipment type ensures consistent quality, reduces defects, and maximizes efficiency.
In small to medium shops, manual and semi-automatic heat transfer shirt presses remain popular due to their affordability, simplicity, and compact footprint. However, results heavily depend on the operator’s consistency.
Key optimization strategies:
These standardization practices help manual and semi-automatic users achieve near-industrial consistency without upgrading equipment immediately. Many small decorators report 20–30% fewer defects after implementing simple checklists.
For high-volume orders (hundreds to thousands of pieces daily), manual heat transfer shirt presses quickly become a bottleneck. Operator fatigue leads to declining pressure over time, resulting in poor adhesion, higher reject rates, and increased labor costs.
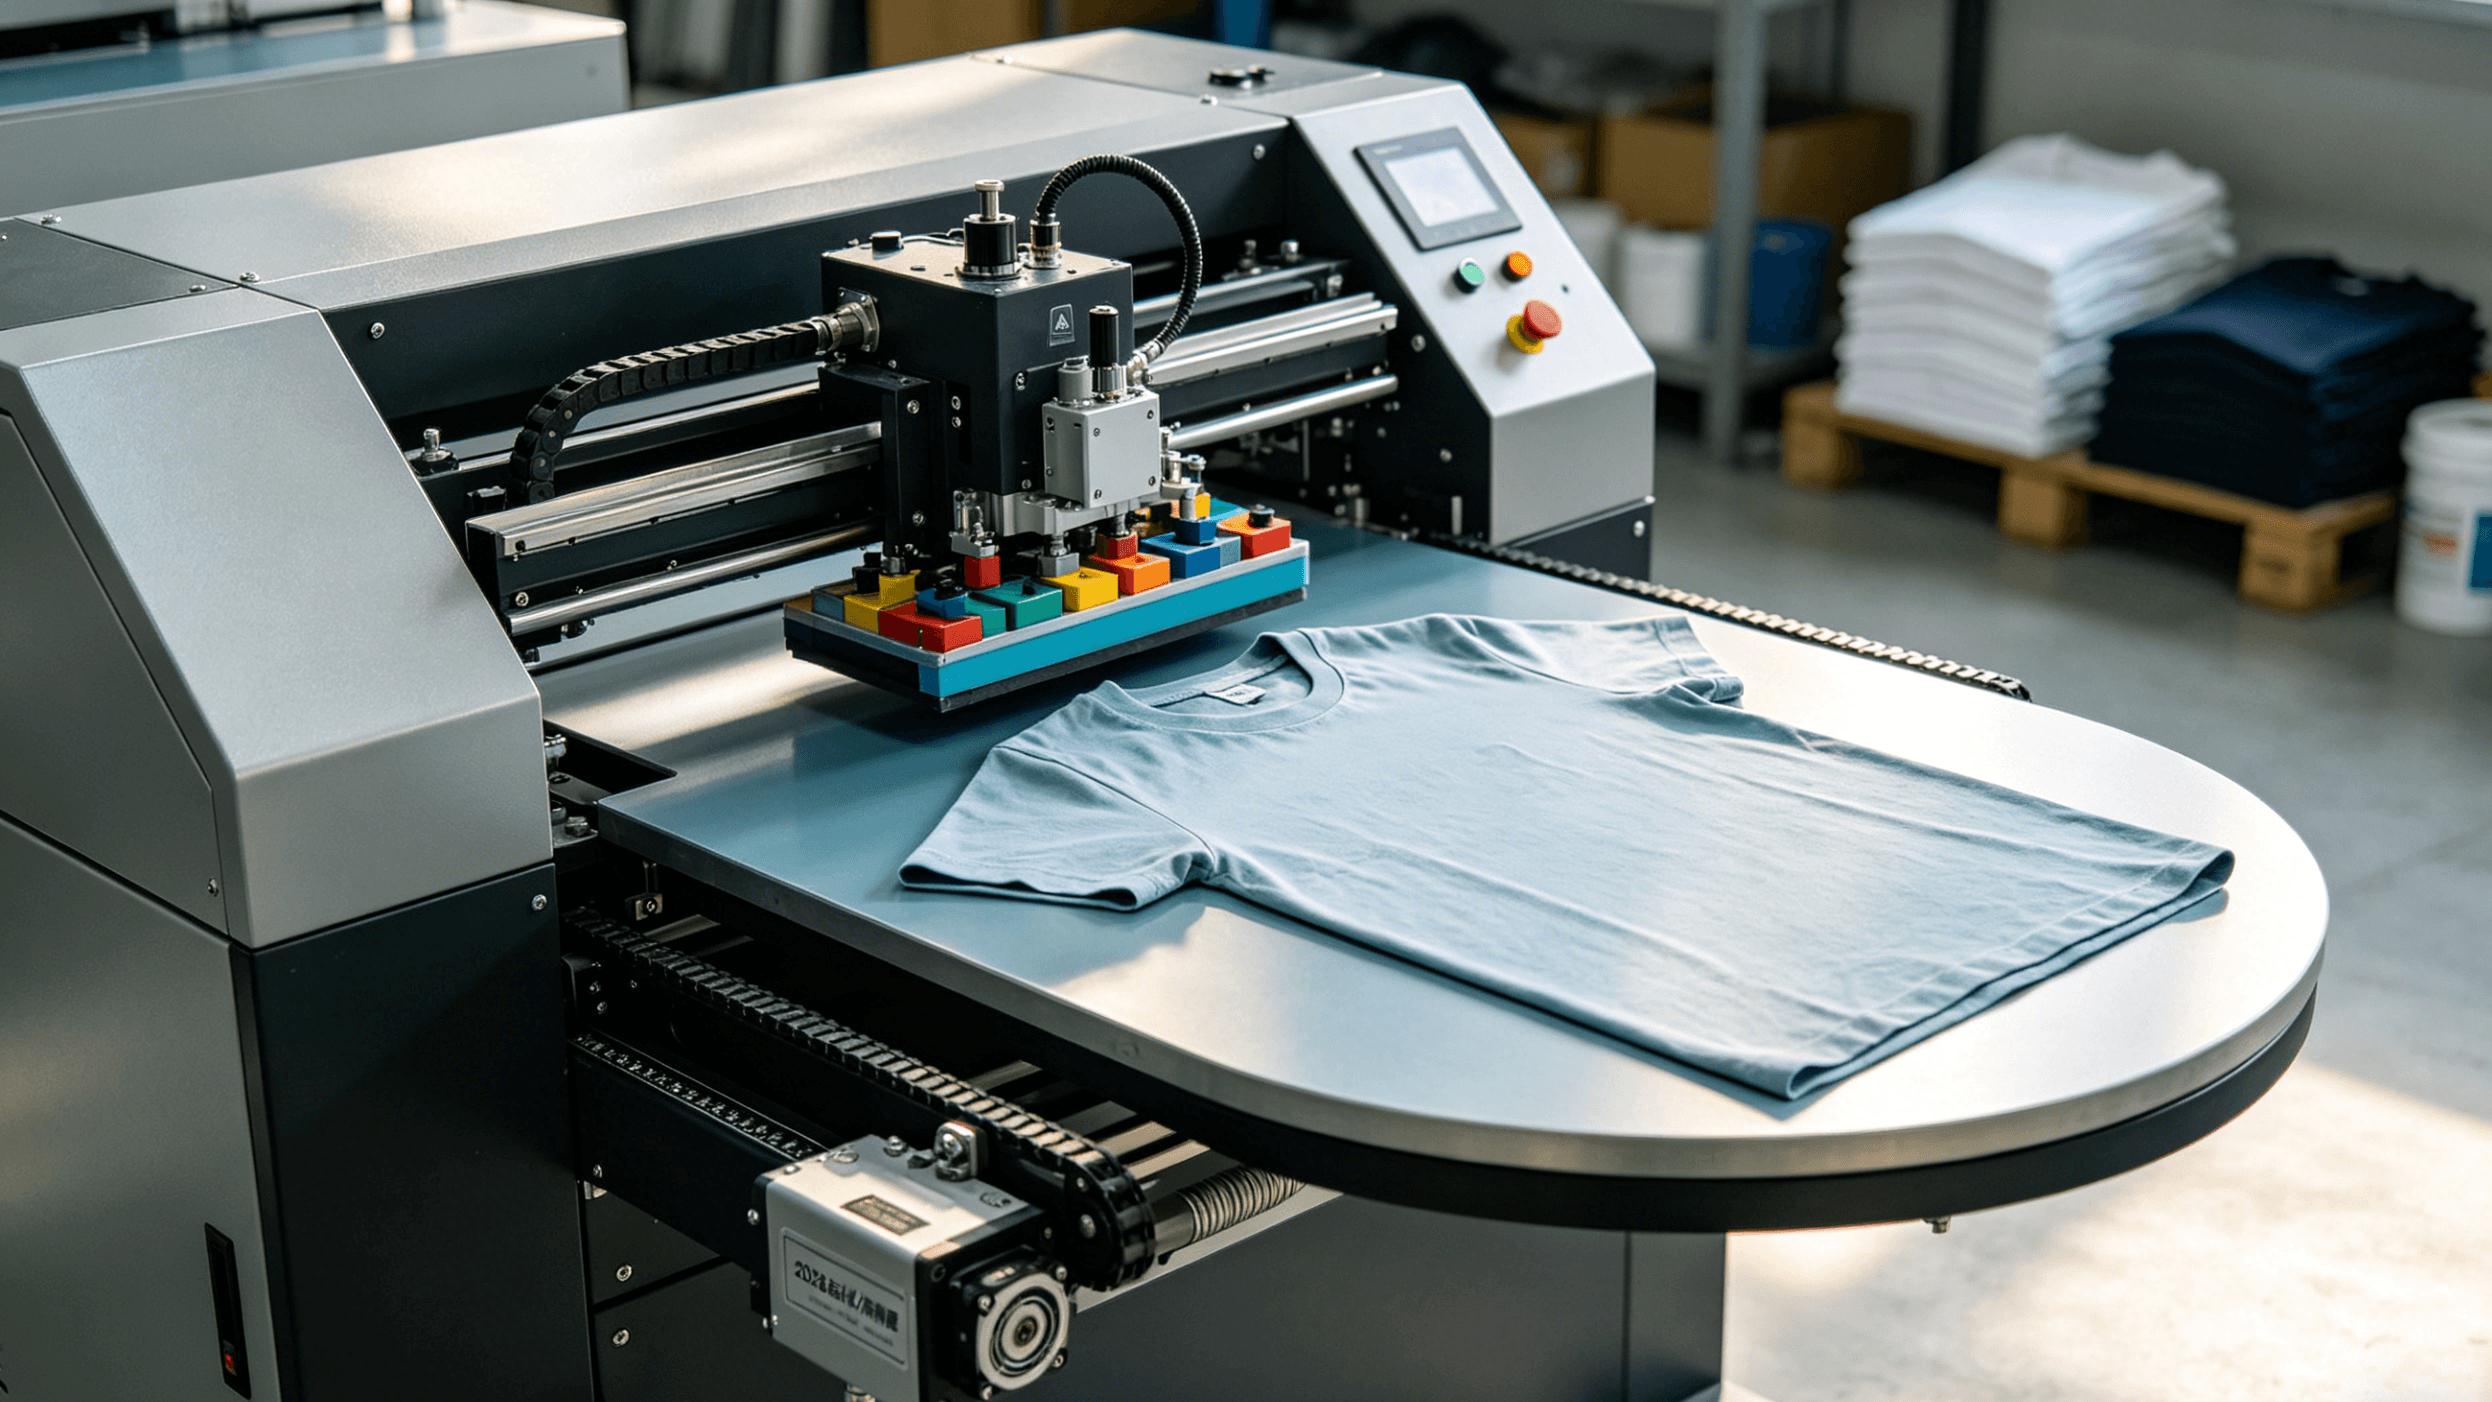
Recommended solution: Transition to Cnding’s pneumatic or full-servo automatic heat press stations.
Cnding Group offers pneumatic automatic heat presses that deliver consistent, repeatable results ideal for DTF, HTV, and other heat transfer applications. Pneumatic models use compressed air for precise, adjustable pressure that does not rely on operator strength, eliminating the variability common in manual pressing.
Integration with printing lines for maximum efficiency:
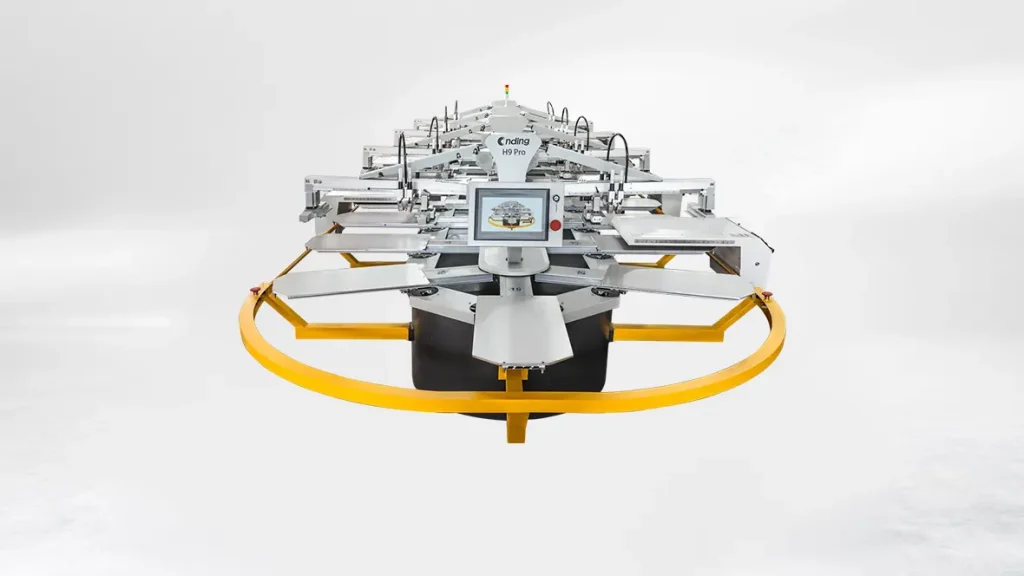
Cnding’s H9PRO Series Full-Servo Oval Screen Printing Machine can be configured with optional heat pressing stations. The modular design allows pressing steps to align with the printing workflow. Using residual heat from printed garments can help lower overall energy consumption in hybrid production lines. The H9PRO’s full-servo system provides high-precision registration and stable operation for multi-color runs, making it suitable for scaling textile production.
For B2B clients demanding tight deadlines and uniform quality across large orders, Cnding’s automated heat press solutions reduce physical strain, minimize human error, and support seamless integration with their screen printing and digital printing equipment.
Even experienced operators encounter occasional problems when running a heat transfer shirt press. The key to minimizing downtime and waste is fast, accurate diagnosis based on the “Golden Trio” — temperature, pressure, and time — along with proper pre-treatment.
| Phenomenon | Possible Causes | Practical Solutions |
|---|---|---|
| Fuzzy / ghosted edges on design | Insufficient pressure or peeling too quickly | Increase pressure gradually. Switch to cold peel and allow full cooling (30+ seconds). |
| Design discoloration / yellowing | Temperature too high causing dye sublimation, scorching, or migration on polyester | Lower temperature by 10–15°F. Increase dwell time slightly (add 3–5 seconds) to maintain adhesion without overheating. Always test on scrap fabric. |
| Adhesive bleeding / overflow beyond edges | Dwell time too long, pressure too high, or excessive finishing press | Check and reduce press time. Lower pressure slightly. Shorten or eliminate the finishing press when bleeding appears. |
| Lifting / peeling after washing | Inadequate pre-press, insufficient pressure/time, or poor fiber penetration | Ensure pre-press lasts at least 5 seconds to remove moisture and wrinkles. Increase main press pressure or time. Confirm fabric weave is visible after finishing press. |
Additional Common Issues & Quick Fixes:
Pro Tip: Maintain a simple log sheet recording successful settings (temperature, time, pressure, material, peel type) for each garment/transfer combination. This turns repeated problems into one-time learning experiences. Mastering these troubleshooting techniques will help you achieve reliable, long-lasting results with your heat transfer shirt press and keep production efficient.
Treat your heat transfer shirt press like a car. The joints need high-temp lubricant once a week so they don’t seize up. And if you get a bit of melted plastic on the platen, don’t ever scrape it with a knife. Wait until it’s warm and use a soft cloth with some alcohol. If you scratch that non-stick coating, you’ll end up with permanent cold spots, and at that point, you’re looking at a very expensive paperweight.
Mastering a heat transfer shirt press is a journey that begins with an artistic eye but succeeds through a deep respect for physical variables. By controlling the “Golden Triangle”—Temperature, Pressure, and Time—and adhering to standardized preparation and maintenance protocols, you move beyond “luck-based” printing into a realm of predictable, high-quality output. In the competitive B2B apparel market, the difference between a one-time order and a long-term partnership lies in consistency. Whether it’s the alignment of the design or the wash-fastness of the adhesive, every detail matters.